Combustion Turbine Rotor Assessment
Combustion Turbine Rotor Assessment

- Make Informed Life Extension, Repair or Replacement Decisions
- Understand Current Conditions of Equipment
- Provide Guided/Informed Instructions for NDE Inspection
- Make Informed Life Extension, Repair or Replacement Decisions
- Understand Current Conditions of Equipment
- Provide Guided/Informed Instructions for NDE Inspection
 Typical mechanisms of degradation are creep, fatigue, oxidation, corrosion, or metallurgical changes. Any of these conditions can progress to cause catastrophic failure. A simple test can define the condition of the component and allow a planned approach to repair or replacement to avoid forced outages.
Our metallurgical assessment services can help prevent the loss of critical components by directing maintenance efforts. We can also provide guidance to non-destructive inspection teams to direct them towards more damaged areas or pare down the work scope to avoid unnecessary inspections. Often, we partner with a specialized NDE rotor inspector to perform a more cohesive, cooperative inspection.
In order to assess the metallurgical condition of equipment components, Acuren offers a complete suite of tests.
Microstructural Analysis via In-Place Metallography
 Examining a component’s microstructure can reveal deterioration from environmental degradation, creep damage, fatigue cracking, and thermal aging. Accurate assessment provides important data for determining equipment condition and remaining life. Replicas are analyzed for metallurgical and manufacturing defects and external surface discontinuities.
When examining large components that cannot be easily moved, in-place metallography is used for microstructural and crack evaluation. In-place metallography, combined with replication, allows us to examine a component’s microstructure without removing a sample from the component. The same techniques can be used on small specimens when standard preparation methods are difficult or impossible.
We evaluate the microstructure using optical microscopes and compare the results to technical literature as well as our internal glossary of microstructures.
In-place metallography allows for a quick onsite component evaluation. It can reveal whether a component has suffered from overheating or other microstructural damage that nondestructive evaluation techniques cannot detect. We have portable metallography laboratories that can be dispatched within hours of a request.
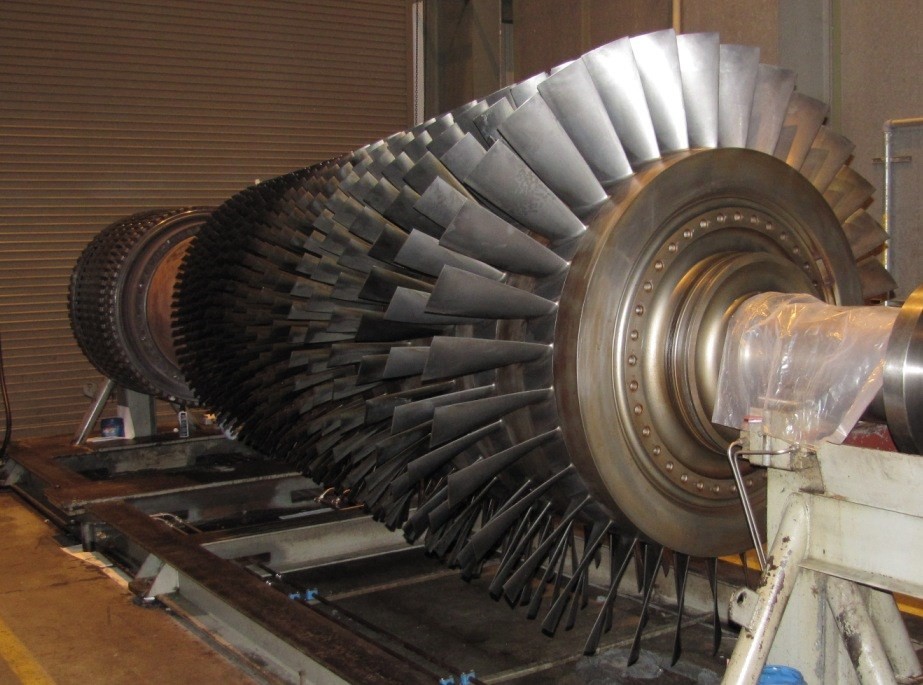
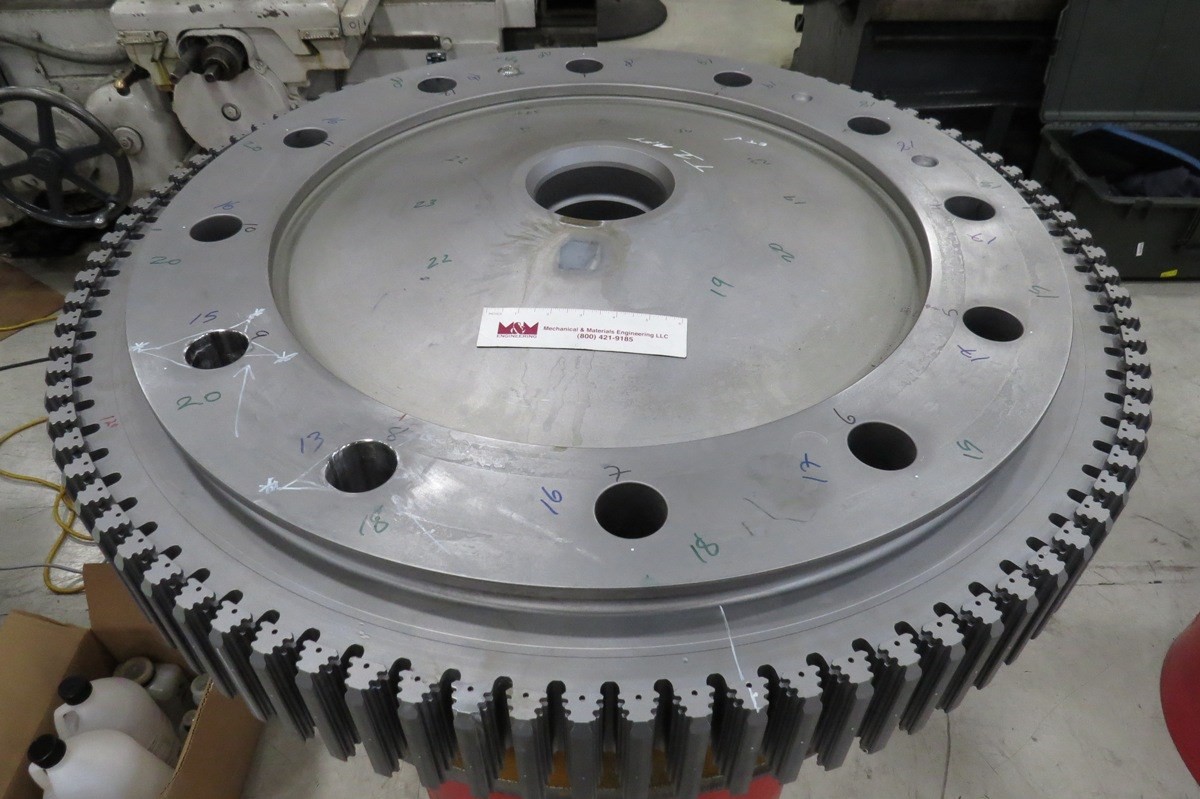
As specific examples, we have performed multiple microstructural assessments on rotor discs, spacers, torque tubes, and air separators on GE, Alstom, and Siemens combustion turbines. These evaluations are part of the larger suite of analyses to determine if the components are suitable for continued operation or if they need replacement. Acuren has performed field metallurgical assessments on low alloy steel, 12-chrome, and Inconel 706 discs from GE, Alstom, and Siemens units.
Portable Hardness Testing
Hardness measurements are a vital assessment of the component’s condition. Acuren can measure the hardness of rotor components in the field using UCI or LEEB testers. Our equipment includes both GE and Proceq hardness testers. Hardness data is used to estimate the tensile strength of steels or to determine if a component has experienced thermal softening. Portable hardness testing is often used in conjunction with in-place metallography/replication to provide a thorough assessment of the metallurgical condition.Compressor Scale and Deposit Analysis
Scaling and deposit buildup can reduce compressor efficiency by disturbing air flow, and promote corrosion by acting as concentration sites for corrosive species. Compressor blade/vane pitting and corrosion fatigue is often the result, sometimes causing forced outages. Scale samples are collected during on-site inspections and taken back to our laboratory for analysis. We employ energy dispersive X-ray spectroscopy to identify constituents in a sample. Scale and deposit analysis can determine the nature, sources, and effects of deposits. We then suggest steps you can take to mitigate their formation.Chemical Analysis
Equipment operates best when all of the parts are made of the correct materials. Using an XRF gun, we quantitatively analyze alloying and trace elements in the component and compare the test results with the appropriate alloy specification.| RELATED SERVICES | ||||
|---|---|---|---|---|
| Power Generation
Laboratory Services – Materials Testing
NDT & NDE
High Energy Piping Programs & Solutions
QUICK LINKS
QUICK LINKS
|
||||
Partner With an Industry Leader Today
Our experienced service providers are ready to deliver innovative, reliable solutions tailored to enhance your efficiency, reduce risks, and optimize costs.
Contact Acuren
Additional Services
Engineering
Acuren’s world-class teams of over 100 engineers have extensive experience both in the field and in our laboratories to provide a higher level of reliability.
Learn More →Inspection
Acuren offers you an unrivaled spectrum of traditional and advanced nondestructive testing and NDE methods to ensure cost-effective and accurate inspection results.
Learn More →Rope Access
As a pioneer in rope access, Acuren has been working to save time and money on projects in difficult to reach and limited access areas for the past 20 years.
Learn More →Success Stories
Flare Stack - Extending Operating Life of Critical Legacy Asset
Integration across Acuren service lines achieves cost-effective and timely asset life extension This oil and gas customer had a 60-year-old flare stack with cracking and corrosion that was approaching its...
Learn More →Solution Brief - Acuren Partners with An Energy Leader to Provide Access Solutions
Problem Acuren has partnered with an energy company to support their TA/Maintenance program in Fort McMurray, Canada Launched in the fall 2016, an access planner works with planning and execution...
Learn More →